A leader in generic
pharmaceutical distribution
36 Years of Success for a Reason.
In an industry as dynamic as healthcare, 36 years in business is more than tenure. It’s proof. For more than three decades, TopRx has proven itself as the distribution partner that indepedent pharmacies and other healthcare customers count on.

Quality, Service and Price
We’ve built lasting relationships with count-on-it quality and fast, dependable delivery, always priced to compete.

Our people respond
Want to actually talk to a person? Get questions answered, advice or an order placed live via telephone or text.

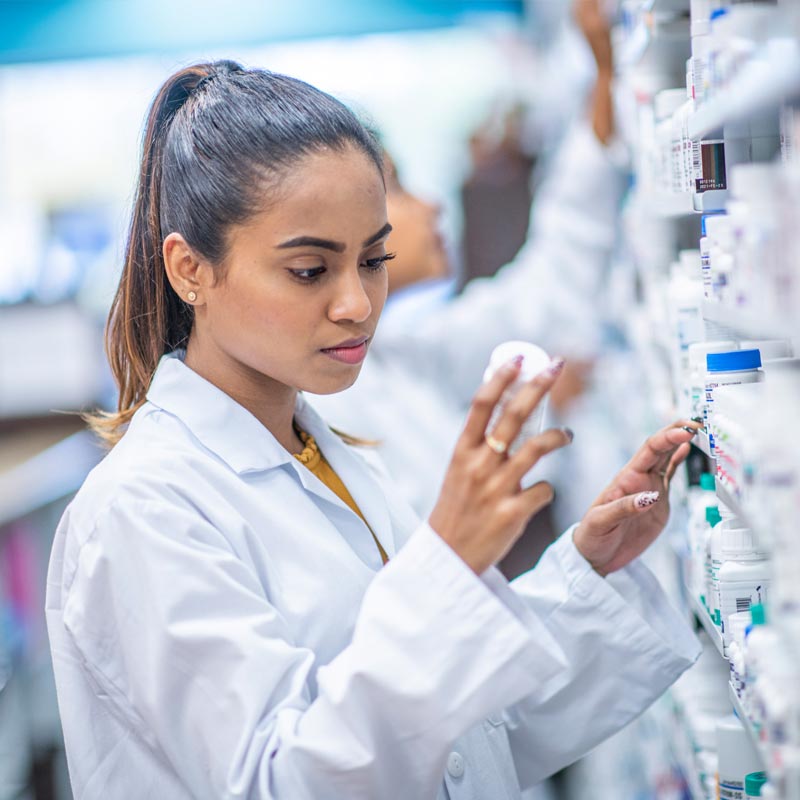

Generics Experts
We’re industry experts specializing in generic drugs. We deliver more than product. We provide knowledge.

Beyond Generics
We also stock a wide variety of branded pharmaceuticals, OTC products, medical supplies and much more.

Let’s Grow Together.
We’re thriving for a reason—when customers work with us once, they tend to work with us again. And we’re investing to grow for the next 36 years.